Soldering Tools Checklist for Beginners
A complete beginner soldering tools checklist: the must-have iron, solder and safety gear, plus the nice-to-have extras that make soldering easier.
Written by Kerem Başbuğ · Last updated September 30, 2026 · How we rank
4 min read
Affiliate disclosure: As an Amazon Associate we earn from qualifying purchases. We may earn a commission when you buy through links on this page — at no extra cost to you. Read our affiliate disclosure for details.
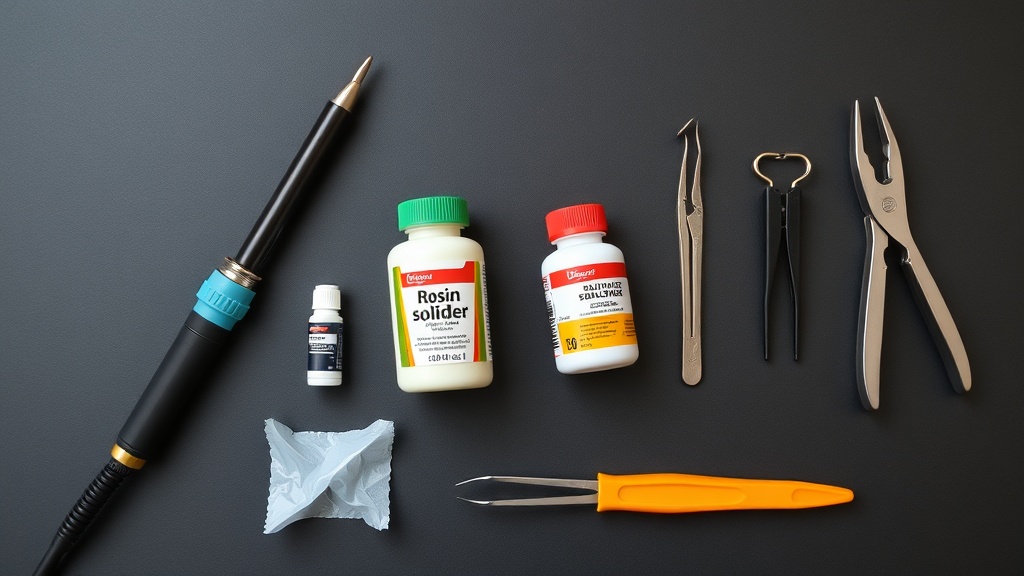
You don’t need a professional bench to start soldering, but a few key tools make the difference between joy and frustration. Here’s exactly what to buy, split into essentials and nice-to-haves.
The essentials
These you genuinely need:
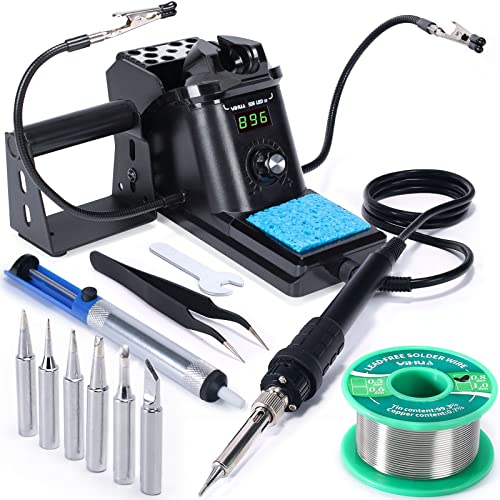
- A temperature-controlled soldering iron or station. This is the most important purchase. Stable, adjustable heat makes clean joints far easier. The YIHUA 926 III station is our top pick because it bundles tips and accessories; for portability, a cordless iron like the Fanttik T1 Max is excellent. Want the iron, solder and basic tools in one purchase? See our complete soldering kits for beginners.
- Thin rosin-core solder (0.6–0.8 mm). Rosin-core means flux is built in. See our lead-free vs leaded guide to choose.
- A soldering iron stand. Never rest a hot iron on the bench. Most stations include one.
- Brass-wool tip cleaner. Better than a wet sponge — see tip care.
- Safety glasses. Solder and flux can spit.
- Something to practice on. A practice kit gives you a safe, rewarding first build instead of risking a real board.
The nice-to-haves
These aren’t mandatory on day one, but each makes life easier:
- Helping hands / a third-hand tool or PCB vise — holds work steady so both your hands are free.
- Flux (paste or pen) — helps solder flow, essential for surface-mount and tricky joints.
- Flush cutters — for trimming component leads.
- Solder sucker or desoldering braid — for fixing mistakes (see how to desolder).
- Fume extractor or a small fan — to pull flux smoke away from your face.
- A magnifier or USB microscope — invaluable once you move to surface-mount work.
- Isopropyl alcohol + brush — to clean flux residue off finished boards.
The smart way to buy
Many beginners overspend on the iron and forget the consumables, or buy a cheap iron and immediately struggle. Two tips:
- Buy a station kit that bundles tips, a stand, helping hands and solder — it’s usually better value than buying each piece separately.
- Get a practice kit at the same time so you have something to learn on from day one.
The checklist at a glance
| Stage | Tool | Why you need it |
|---|---|---|
| Day one | Temperature-controlled iron or station | Stable heat is the biggest factor in clean joints |
| Day one | Thin rosin-core solder (0.6–0.8 mm) | Flux built in; fine control — see solder types |
| Day one | Brass-wool tip cleaner and stand | Keeps the tip working; keeps the iron safe |
| Day one | Flush cutters | Trims legs cleanly without stressing joints |
| Day one | Safety glasses | Solder and clipped leads can fly |
| Day one | Something to solder | A practice kit |
| First week | Solder sucker and wick | Fixing mistakes — see how to desolder |
| First week | Helping hands or a PCB holder | Frees both hands |
| First week | Flux pen or paste | Rescues joints that will not flow |
| First month | Fume extractor | Keeps flux smoke out of your face — see fume safety |
| First month | Multimeter | Finds bad joints and bridges — see best multimeters |
| Later | Bench power supply, oscilloscope, hot air | See electronics workbench essentials |
What you can skip at first
- Huge “60-in-1” accessory kits. Most of the pieces are low quality and rarely used.
- A soldering gun. Guns suit heavy wire and metalwork, not circuit boards.
- Hot air. Wait until you are doing surface-mount rework.
- Expensive magnification. A helping-hands magnifier covers the first months.
Starting with nothing?
If you have no tools at all, a complete soldering kit that bundles the iron, solder and basics is usually cheaper than buying each item — pair it with a practice kit and you are ready. If you would rather buy each piece separately, start with the iron from our best soldering iron ranking and add the rest from the accessories roundup.
Once your kit arrives, set it up safely and follow our step-by-step beginner guide. You’ll be making clean joints the same afternoon.
Recommended kits from this guide
YIHUA
YIHUA 926 III 60W Soldering Station
A temperature-controlled station bundled with everything to start.
We earn a commission, at no extra cost to you.

amomii
amomii Testudo Soldering Practice Kit
Three real gadgets, guided tutorials, and an Arduino-compatible brain.
We earn a commission, at no extra cost to you.

Fanttik
Fanttik T1 Max Cordless Soldering Iron
Cordless, heats in seconds, and goes wherever the repair is.
We earn a commission, at no extra cost to you.

KOTTO
KOTTO Solder Fume Extractor
Keep solder smoke out of your face for the price of a tip set.
We earn a commission, at no extra cost to you.

Kaisiking
Kaisiking Helping Hands with Magnifier
Four arms and a magnifier so the board holds itself.
We earn a commission, at no extra cost to you.

HGMZZQ
HGMZZQ 60/40 Rosin-Core Solder Wire
Classic 60/40 rosin-core wire — the easiest solder to learn on.
We earn a commission, at no extra cost to you.