ESD Safety for Soldering: Protecting Sensitive Components
What electrostatic discharge (ESD) is, which components it damages, and the simple, cheap steps to protect your projects with a wrist strap and mat.
June 23, 2026 · 3 min read
Affiliate disclosure: As an Amazon Associate we earn from qualifying purchases. We may earn a commission when you buy through links on this page — at no extra cost to you. Read our affiliate disclosure for details.
Electrostatic discharge — ESD — is the soldering hazard that does not harm you at all, but quietly kills your components. It is invisible, it leaves no mark, and it is the reason a perfectly soldered board sometimes just does not work. The protection is cheap and simple, so it is worth understanding early.
What ESD is
You build up static charge constantly — walking on carpet, taking off a jumper, sliding off a chair. That stored charge can be thousands of volts. When your charged finger touches a component lead, it discharges in an instant. You might feel a tiny zap; a sensitive semiconductor feels a damaging spike of current.
The shock that is harmless to you can be fatal to a modern chip.
Which components are at risk
- Low risk: resistors, most capacitors, LEDs, simple through-hole kits like a piano or radio build
- High risk: microcontrollers, MOSFETs, sensors, memory, and most integrated circuits — including the chips on sensor-based kits
If your project involves anything “smart” — a microcontroller, a sensor, a logic chip — assume it is ESD-sensitive.
The invisible danger: latent damage
ESD does not always destroy a part outright. Often it causes latent damage — it weakens the component just enough that it works at first, then fails days or weeks later. This is what makes ESD so insidious: there is no scorch mark, no smoke, no obvious cause. The board simply becomes unreliable or dies for no visible reason. You cannot debug damage you cannot see, so prevention is the only real defence.
A simple, cheap protection setup
You do not need a clean room. In order of impact:
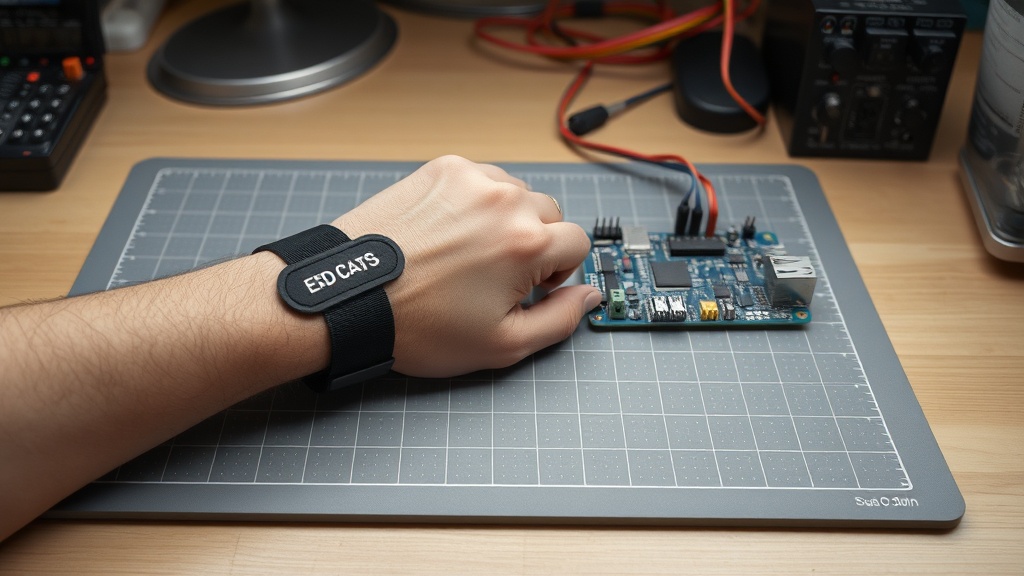
- Anti-static wrist strap — the single most effective step. Clip it to your wrist and to a grounded point (a known ground, or the ground pin of a properly earthed outlet via a proper strap). It keeps you at the same potential as your work, so there is nothing to discharge.
- ESD mat — a grounded mat under your work gives charge a safe, controlled path away.
- Environment — work on bare wood rather than synthetic carpet, avoid fleece and plastic clothing, and keep static-generating plastic bags away from the bench.
Good habits that cost nothing
Even without gear, you can reduce risk: touch a grounded metal object before handling sensitive parts to discharge yourself, leave components in their anti-static bags until the moment you fit them, and handle ICs by the body rather than the pins. A grounded iron — like a good station or modern smart iron — also helps keep stray voltage off the joint.
Build the habit early
For a first LED kit, ESD barely matters. But the moment you move on to microcontrollers and sensors, it matters a lot — and by then good habits should already be automatic. A wrist strap costs little and saves you from the most frustrating kind of fault: the one with no visible cause. Pair it with the rest of your bench safety setup and you are covered.
Recommended kits from this guide
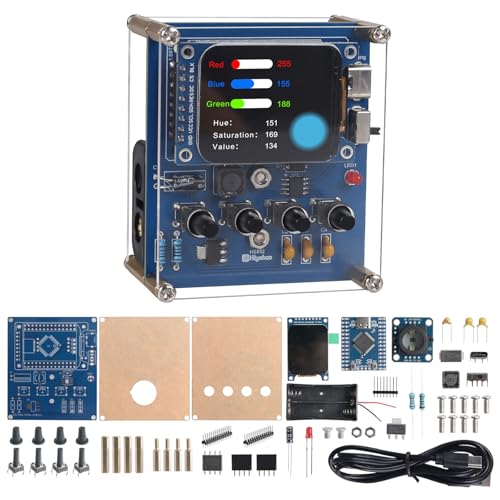
BANRIA
BANRIA Color Recognition Soldering Kit
A real colour sensor and TFT screen — practice that teaches electronics.
We earn a commission, at no extra cost to you.
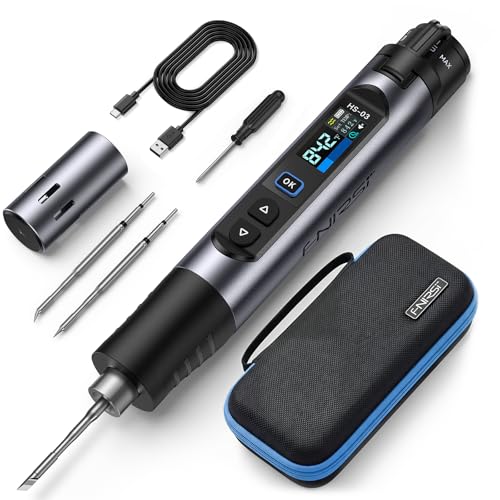
FNIRSI
FNIRSI HS-03 Cordless Soldering Iron
Battery-powered, 3-second heat-up, and a screen that shows the temp.
We earn a commission, at no extra cost to you.

Kaisiking
Kaisiking Helping Hands with Magnifier
Four arms and a magnifier so the board holds itself.
We earn a commission, at no extra cost to you.