Helping Hands and PCB Holders: The Third Hand Every Bench Needs
How helping-hands tools and PCB holders make soldering easier, what to look for, and why a third hand is the upgrade beginners notice most.
June 23, 2026 · 2 min read
Affiliate disclosure: As an Amazon Associate we earn from qualifying purchases. We may earn a commission when you buy through links on this page — at no extra cost to you. Read our affiliate disclosure for details.
Soldering is a two-handed job that needs three hands: one for the iron, one for the solder, and one to hold the work steady. Since most of us only have two, the single most transformative accessory on a beginner’s bench is the one that becomes the third hand.
Why you need a third hand
Try to solder a joint while also stopping the board from sliding and you quickly understand the problem. The board shifts, the component falls out, the joint moves while it cools and turns into a cold joint. A holder removes all of that. With the work locked in place, both your hands are free to do the one thing they should: make a clean joint.
The main types
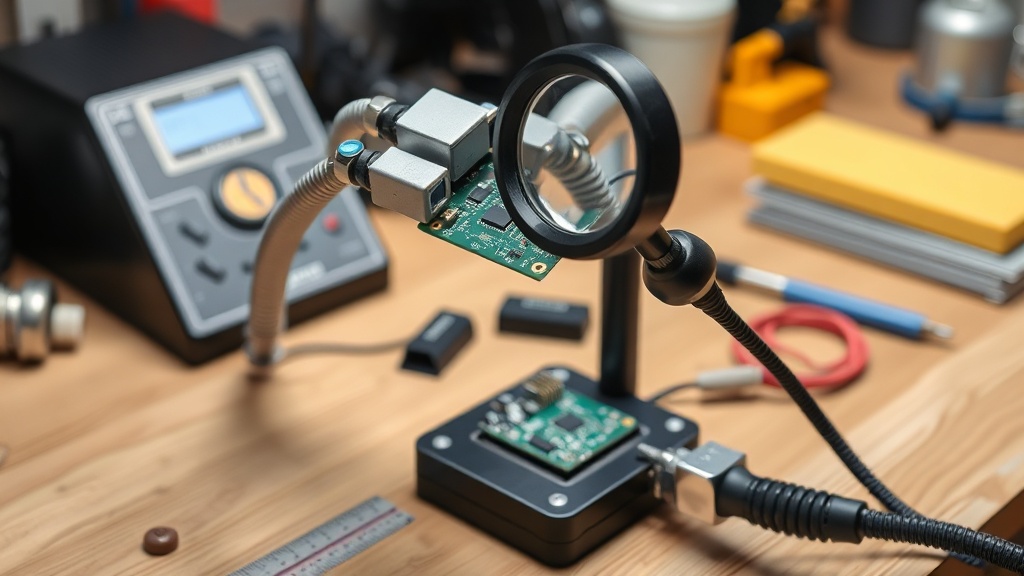
- Flexible-arm helping hands — a weighted base with two to four bendable arms ending in clips. The most versatile option: they grip boards, wires and parts at almost any angle. Our pick, the Kaisiking helping hands, adds a magnifier for fine work.
- PCB holders / vices — clamp a board firmly along its edges and often rotate, which suits dense or repetitive board work where you need real rigidity.
- Silicone mats with clips — a heat-resistant work surface that also organises tiny parts; a nice companion to either of the above.
What to look for
- A stable, weighted base. A light base tips over the moment you pull against a clip. Weight equals usability.
- Enough arms, positioned well. Two arms hold a wire splice; four let you hold a board and the parts you are fitting.
- A built-in magnifier if you plan any fine or surface-mount work — or to save your eyes on dense sensor boards.
- Clips that grip without marking. Look for clips with a softer touch, or add small silicone sleeves, to avoid scratching delicate boards.
How to use one well
Position the board so the joint you are working on is at a comfortable height and angle, with the smoke drifting away from your face (pair it with a fume extractor). Use just enough clip tension to hold the work — over-tightening can flex or crack a board. Reposition as you move around the board rather than reaching at awkward angles, which is where slips and burns happen.
The upgrade beginners notice most
Plenty of accessories make a small difference. A third hand makes a big one, immediately, on the very next joint you solder. It is inexpensive, it lasts forever, and it quietly improves everything you make with it. If you only add one thing to your starter kit beyond the iron and solder, make it this — then see the rest of our accessories roundup and tools checklist.
Recommended kits from this guide

Kaisiking
Kaisiking Helping Hands with Magnifier
Four arms and a magnifier so the board holds itself.
We earn a commission, at no extra cost to you.
BANRIA
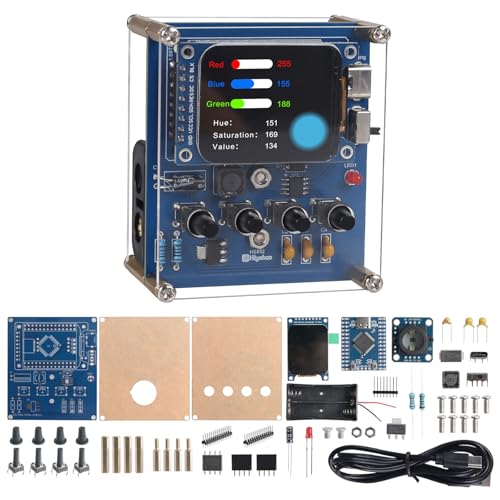
BANRIA Color Recognition Soldering Kit
A real colour sensor and TFT screen — practice that teaches electronics.
We earn a commission, at no extra cost to you.
FNIRSI
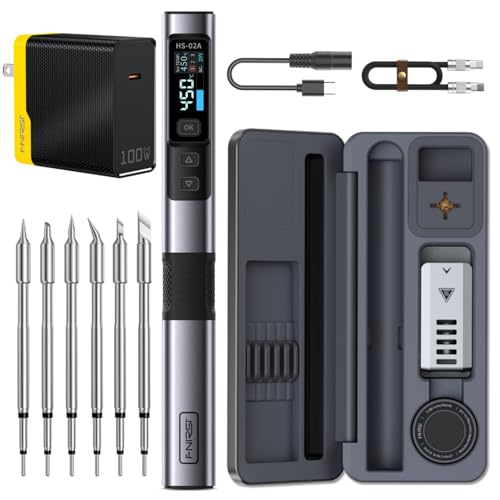
FNIRSI HS-02A Smart Soldering Iron
100W of mains power, six tips, and instant temperature control.
We earn a commission, at no extra cost to you.