How to Fix a Cold Solder Joint (Spot It and Reflow It)
What a cold solder joint looks like, why it happens, and how to fix one by reflowing with flux and the right temperature for a clean, reliable connection.
June 23, 2026 · 3 min read
Affiliate disclosure: As an Amazon Associate we earn from qualifying purchases. We may earn a commission when you buy through links on this page — at no extra cost to you. Read our affiliate disclosure for details.
A cold solder joint is the most common fault a beginner makes — and the most common reason a project that “should work” does not. The good news is they are easy to spot once you know what to look for, and usually trivial to fix.
What a cold joint is
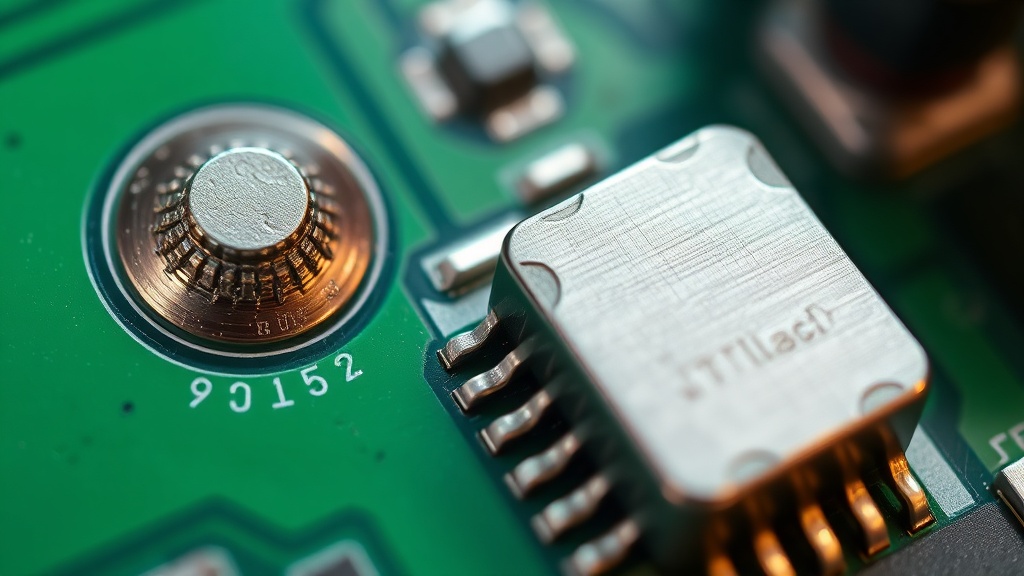
A good solder joint is a proper metallurgical bond: the solder has flowed into and wetted both the pad and the component lead, forming a smooth, shiny, concave fillet. A cold joint is one where that bond never properly formed — the solder cooled before it flowed, or it never got hot enough to wet the surfaces. The result is a weak, often intermittent connection that just sits on top of the metal rather than bonding to it.
How to spot one
Look closely (a magnifier or helping-hands tool helps):
- Dull, grainy or frosty surface instead of bright and shiny
- A ball or blob sitting on the pad rather than a smooth fillet flowing into it
- Cracks or a ring around the component lead
- The joint can sometimes be wiggled or the part moves
Electrically, cold joints cause flaky behaviour: a circuit that works when you press on it, then stops; intermittent faults; or no connection at all.
Why cold joints happen
- Not enough heat — the iron was too cool, too low-powered, or not held on the joint long enough to melt everything fully. Work at around 315–340°C (600–650°F) for leaded solder.
- Movement while cooling — the joint was disturbed during the second or two it takes to solidify. Hold parts still until the solder sets.
- No flux / dirty surfaces — without flux, oxide stops the solder wetting the metal, so it beads up instead of flowing.
How to fix a cold joint
Most cold joints reflow in seconds:
- Add a little flux to the joint. This is the step beginners skip, and it makes all the difference — it lets the existing solder flow again.
- Clean and heat your tip, then press it firmly against the joint so it heats both the pad and the lead.
- Wait for the solder to melt and flow into a smooth, shiny fillet. Add a touch of fresh solder if there is not enough.
- Remove the iron and hold still until the joint solidifies — no blowing on it, no moving the board.
If there is too much solder, or it is badly oxidised, remove the old solder first with a solder sucker or desoldering wick, then make a fresh joint.
Prevent them in the first place
Cold joints almost vanish once you do three things consistently: keep your tip clean and tinned, work at the right temperature, and heat the joint — not the solder — so everything melts together. A cheap practice board is the perfect place to drill the habit until shiny joints come automatically.
For more faults and fixes, see our roundup of common soldering mistakes.
Recommended kits from this guide
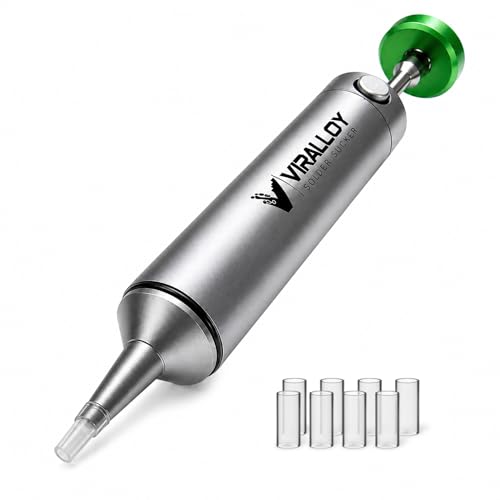
VIRALLOY
VIRALLOY Solder Sucker
A no-clog desoldering pump that fixes your mistakes fast.
We earn a commission, at no extra cost to you.
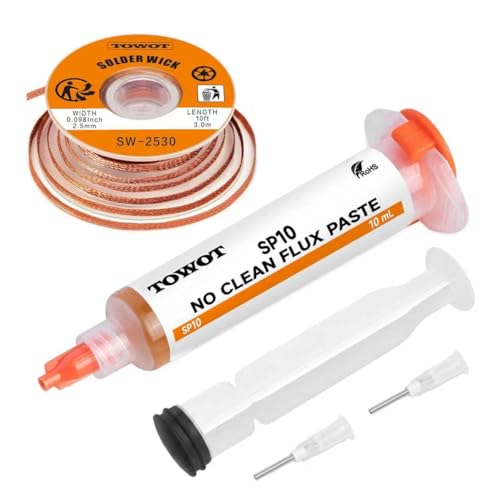
TOWOT
TOWOT Solder Wick & Flux Kit
Solder braid plus no-clean flux — the cleanup duo.
We earn a commission, at no extra cost to you.

Tingbowie
Tingbowie DIY Soldering Practice Kit
A no-frills training board for drilling clean through-hole joints.
We earn a commission, at no extra cost to you.