How to Solder Wires Together (Splice, Heat-Shrink and Tin)
How to solder wires together step by step: tip and temperature by wire gauge, tinning, Western Union, inline and pigtail splices, heat-shrink sizing, and when to crimp instead.
Written by Kerem Başbuğ · Last updated September 16, 2026 · How we rank
6 min read
Affiliate disclosure: As an Amazon Associate we earn from qualifying purchases. We may earn a commission when you buy through links on this page — at no extra cost to you. Read our affiliate disclosure for details.
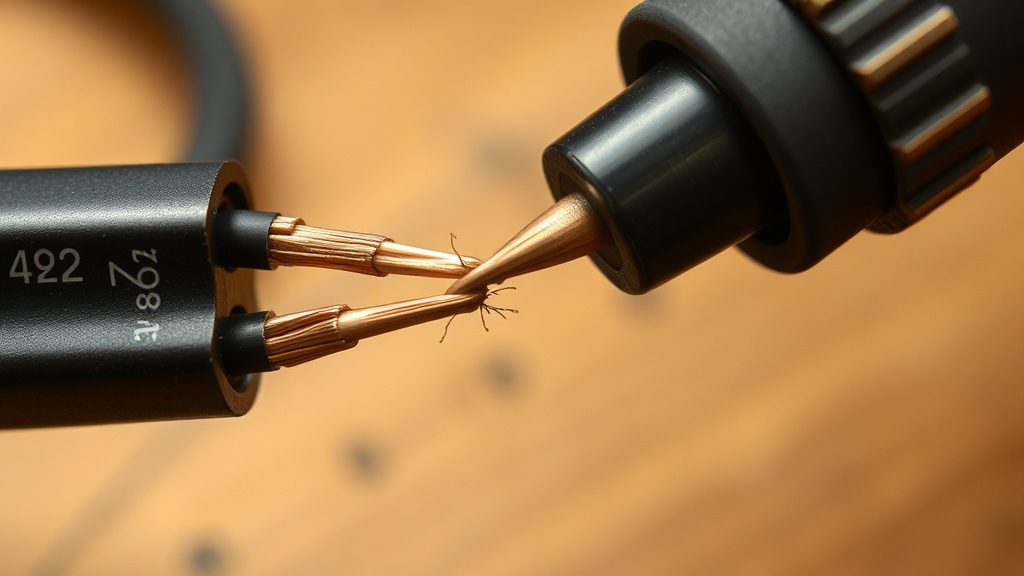
Joining two wires with solder is one of the most useful skills in electronics, robotics and repair — and one beginners most often get wrong. The secret is not the soldering itself but the preparation. Get the prep right and the joint almost makes itself.
What you need
- A temperature-controlled iron with a chisel tip
- Thin rosin-core solder — 0.8 mm suits most wire
- Wire strippers and a pair of helping hands to hold both wires
- Heat-shrink tubing and a heat gun (or electrical tape in a pinch)
- A little flux for older or oxidized wire
Tip and temperature by wire size
Thicker wire soaks up heat, so match the tip and power to the wire rather than just turning up the dial. Starting points for leaded solder:
| Wire size | Typical use | Tip | Starting temperature |
|---|---|---|---|
| 30–26 AWG | Ribbon cable, small signal wires | Small chisel or fine conical | 310–330°C (590–625°F) |
| 24–22 AWG | Jumper wire, sensors, LEDs | Small chisel | 320–340°C (610–645°F) |
| 20–16 AWG | Speaker wire, small motors, LED strips | Medium chisel | 340–360°C (645–680°F) |
| 14 AWG and thicker | Power leads, RC and battery cables | Large chisel, high wattage | 360–380°C (680–715°F) |
For lead-free solder, add roughly 20–30°C. If the solder will not flow within a few seconds, a bigger tip usually helps more than more heat. Our temperature guide explains why.
Solid vs stranded wire
- Solid wire is a single conductor. It is easy to tin and hold in place, but it breaks if it is flexed repeatedly — best for breadboards and fixed wiring.
- Stranded wire is many fine strands. It is flexible and survives movement, but the strands splay, so twist them neatly and tin them before joining.
Step 1: Strip and tin each wire
Strip about 10–15 mm of insulation from each wire (a little less for thin wire, a little more for a Western Union splice on thick wire). For stranded wire, give the exposed strands a gentle twist in the direction they are already laid.
Now tin each wire: heat the bare strands with your iron and feed in a little solder until the copper is coated in a thin, shiny layer. Tinning locks the strands together, removes oxidation and means the final joint comes together in seconds. Do not skip this step — it is what separates an easy splice from a fight.
If the wire is dull or brown, it has oxidized. Add a touch of flux, or strip back to fresh copper.
Step 2: Join the wires mechanically
Solder conducts; it does not glue. A joint that is mechanically sound before you solder will always be stronger. Pick the splice that suits the job:
| Splice | How it’s made | Best for |
|---|---|---|
| Western Union (lineman’s) | Cross the wires, then wrap each tightly around the other | Wires that will take strain; strongest inline join |
| Inline (lap) splice | Lay the tinned ends side by side, overlapping, and solder | Thin wire where a slim joint matters |
| Pigtail (parallel) | Hold wires side by side pointing the same way, twist, solder, fold flat | Joining two or more wires to one |
| Hook joint | Bend a small hook in each tinned end, link and pinch closed | Quick, low-strain connections |
For most repairs, a Western Union splice for thicker wire and an inline splice for thin wire covers everything.
Step 3: Solder the joint
Bring your iron onto the joined wires and let them heat for a second or two, then feed in solder from the opposite side so the wire — not the tip — melts it. Because both wires are already tinned, the solder will flow instantly and bond them. You want the solder to flow into the joint, leaving a smooth, shiny surface where you can still see the shape of the wires — not a lumpy blob sitting on top. Remove the iron and hold the wires still until the solder sets.
If the joint looks dull or grainy, you may have moved it while cooling — that is a cold joint, and you should reflow it.
Step 4: Insulate with heat-shrink
Bare solder joints must be insulated. The neat way is heat-shrink tubing:
- Before soldering, slide a piece of heat-shrink onto one of the wires, well away from the heat.
- Make and cool the joint.
- Slide the tubing over the finished joint and apply heat until it shrinks tight.
Choosing the right size: the tubing’s expanded diameter must slide over the joint, and its shrunk diameter must be smaller than the wire’s insulation so it grips. Tubing is sold by shrink ratio — 2:1 halves in diameter and suits most jobs; 3:1 shrinks further, which helps over bulky joints. For outdoor, marine or automotive wiring, adhesive-lined (dual-wall) heat-shrink seals out moisture.
Cut the tubing long enough to overlap the insulation by about 5–10 mm on each side. Forgetting to thread it on first is the classic mistake — there is no way to add it once the joint is made, short of cutting and redoing it.
Soldering vs crimping
Soldered splices are compact and reliable for electronics, but they are not always the best choice:
- Choose solder for circuit boards, hobby electronics, LED strips, headphones and wiring that does not move.
- Consider a crimp for vehicles, motorbikes, drones and anything that vibrates. Solder wicks up into the strands and creates a stiff section; under constant vibration the wire can fatigue and break right where the solder ends.
- If you solder in those places, keep the solder confined to the joint, support it with snug heat-shrink and add strain relief, such as a cable tie, so the joint itself is not flexing.
For high-current hobby wiring, see soldering for RC and drones.
Common mistakes
- Not enough heat — the solder balls up instead of flowing. Use a bigger tip or a little more temperature.
- Too long on the joint — the insulation melts and shrinks back. Tin first so the final joint is quick.
- Too much solder — a blob hides whether the wires are actually joined and makes the joint stiff.
- Solder wicking far up the wire — keep heat and solder on the splice itself.
- Moving the wires while it cools — the result is a dull, weak cold joint.
- Forgetting the heat-shrink — thread it on first, every time.
Practise on something forgiving
Wire splicing is a skill that rewards repetition. Practise on offcuts before you commit to a real repair, and once your joints come out shiny and strong every time, you are ready for anything from a robot kit to a real-world cable fix. New to the iron entirely? Start with the beginner soldering guide.
Recommended kits from this guide

Kaisiking
Kaisiking Helping Hands with Magnifier
Four arms and a magnifier so the board holds itself.
We earn a commission, at no extra cost to you.

HGMZZQ
HGMZZQ 60/40 Rosin-Core Solder Wire
Classic 60/40 rosin-core wire — the easiest solder to learn on.
We earn a commission, at no extra cost to you.
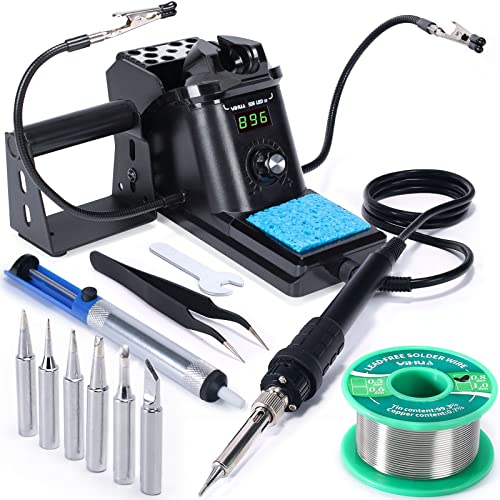
YIHUA
YIHUA 926 III 60W Soldering Station
A temperature-controlled station bundled with everything to start.
We earn a commission, at no extra cost to you.