How to Solder Battery Tabs (18650 and Pack Building Safely)
How to solder tabs and wires to 18650 and lithium cells safely: why heat is the enemy, when to spot-weld instead, and a safe step-by-step method.
Written by Kerem Başbuğ · Last updated September 30, 2026 · How we rank
4 min read
Affiliate disclosure: As an Amazon Associate we earn from qualifying purchases. We may earn a commission when you buy through links on this page — at no extra cost to you. Read our affiliate disclosure for details.
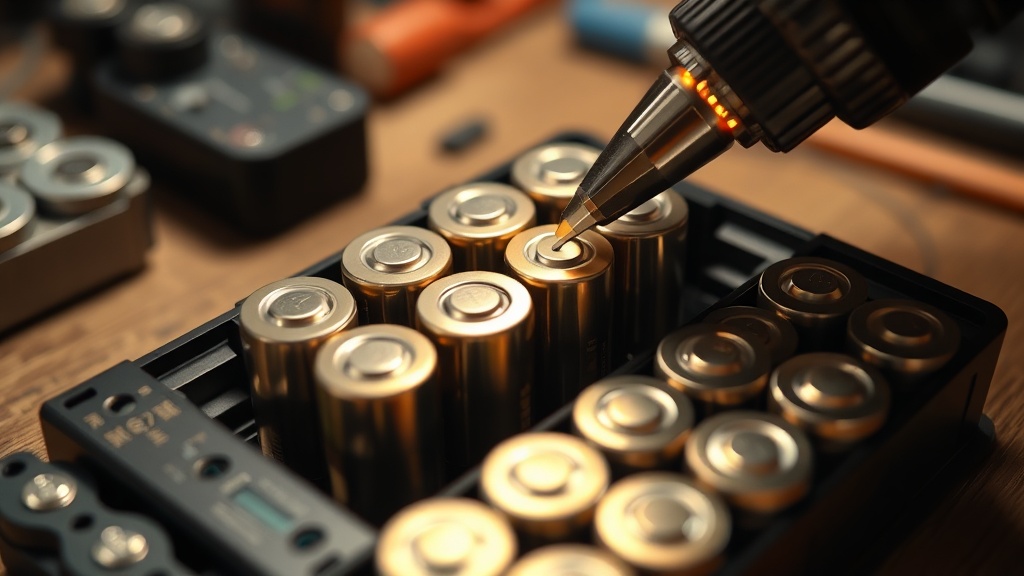
Soldering to batteries is one of the few jobs where the usual advice flips on its head. Normally you control heat carefully and take your time. With cells — especially lithium 18650s — heat is the enemy, and the goal is to get on and off as fast as possible. Done carelessly, it is genuinely dangerous; done correctly, it is manageable. Here is how to approach it safely.
Safety first: Lithium cells can vent toxic gas or catch fire if internally damaged by heat. If you are building anything beyond a simple pack, spot-welding is strongly preferred. Work in a safe area, away from flammables, and never solder a damaged, swollen or unknown cell.
Why heat is the danger
A lithium cell is a tightly wound chemistry that does not tolerate high internal temperatures. When you hold a soldering iron against the terminal, heat soaks through the case into the cell. Too much, for too long, and you risk damaging the separator inside — which can lead to internal short circuits, venting, or thermal runaway. The visible terminal may look fine while the damage is internal and invisible, much like ESD damage.
That is why the entire technique is built around minimising heat and time.
Spot-welding: the safer default
For building battery packs, the professional method is spot-welding nickel strip onto the cells. A spot welder delivers a huge current for a few milliseconds, fusing the strip to the terminal almost instantly with negligible heat reaching the internals. If you plan to build packs regularly, a spot welder is the right tool — soldering is the compromise, not the goal.
If you must solder: the safe method
When spot-welding is not an option and you are soldering a tab or wire to a single cell:
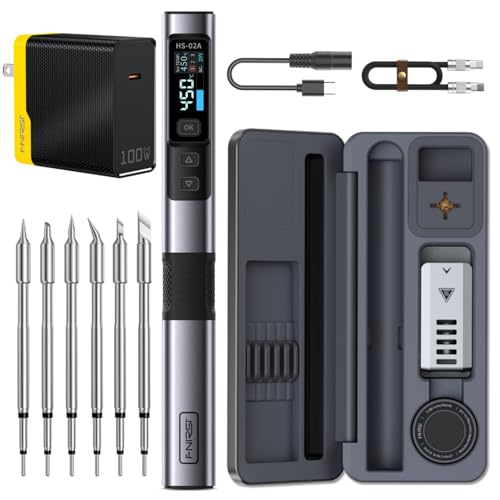
- Use a powerful iron. A 60–100W iron like the FNIRSI HS-02A with a large tip stores enough heat to make the joint fast. A weak iron forces you to dwell on the cell — the opposite of what you want.
- Prep both surfaces. Lightly abrade the terminal, add flux, and pre-tin both the terminal and the tab separately and quickly.
- Hold the cell securely in helping hands so you are not fighting it.
- Join fast. Place the tinned tab on the tinned terminal, touch the iron, let the solder flow, and lift off — aim for two to three seconds, not ten.
- Let it cool naturally and inspect. If the cell got hot enough to be uncomfortable to touch, you took too long.
What not to do
- Do not repeatedly reheat the same terminal — each attempt adds heat.
- Do not solder swollen, damaged or salvaged cells of unknown history.
- Do not work near anything flammable, and keep a way to deal with a fire nearby.
- Do not solder the negative and positive ends in a way that risks shorting across the cell.
The honest takeaway
Choosing nickel strip and wire
- Pure nickel strip is the standard for tabbing cells; nickel-plated steel is cheaper but has higher resistance and heats up more under load.
- Strip thickness and width set how much current a connection can carry — thicker and wider strip for higher-current packs.
- Silicone wire of a suitable gauge for the pack’s current, as used in RC soldering.
Safety checklist before you start
- Work on a non-flammable surface, away from anything that can catch fire.
- Wear safety glasses.
- Keep cells from shorting: cover the terminals you are not working on, and never let a metal tool bridge them.
- Check each cell’s voltage with a multimeter and only combine cells at similar voltages.
- Have a plan for a cell that overheats — a metal container or a sand bucket away from the bench.
Tabbed cells: the easy alternative
Many cells are sold with tabs already spot-welded to the terminals. Soldering a wire to a pre-welded tab keeps the heat away from the cell itself and is far safer than soldering directly to the terminal — it is the best option if you do not own a spot welder.
Soldering vs spot-welding vs brazing
Spot-welding is a form of resistance welding and is the professional way to tab cells; soldering is the compromise; brazing and flame welding are never appropriate near a lithium cell. Our soldering vs welding vs brazing guide explains the differences.
For a one-off tab or a simple connection, careful fast soldering with a powerful iron and good flux is workable. For real pack building, invest in a spot welder — it is safer and produces better joints. Either way, respect lithium cells: the risk is real, but so is your ability to manage it with the right tool and technique. Newer to soldering generally? Build confidence first with a practice kit and our beginner guide.
Recommended kits from this guide
FNIRSI
FNIRSI HS-02A Smart Soldering Iron
100W of mains power, six tips, and instant temperature control.
We earn a commission, at no extra cost to you.

HGMZZQ
HGMZZQ 60/40 Rosin-Core Solder Wire
Classic 60/40 rosin-core wire — the easiest solder to learn on.
We earn a commission, at no extra cost to you.

Kaisiking
Kaisiking Helping Hands with Magnifier
Four arms and a magnifier so the board holds itself.
We earn a commission, at no extra cost to you.