Soldering for RC and Drones: Connectors, ESCs and Battery Leads
A practical guide to soldering for RC and FPV drones: tinning pads, soldering XT60 connectors, motor and ESC wires, and avoiding cold joints that cause crashes.
Written by Kerem Başbuğ · Last updated September 30, 2026 · How we rank
4 min read
Affiliate disclosure: As an Amazon Associate we earn from qualifying purchases. We may earn a commission when you buy through links on this page — at no extra cost to you. Read our affiliate disclosure for details.
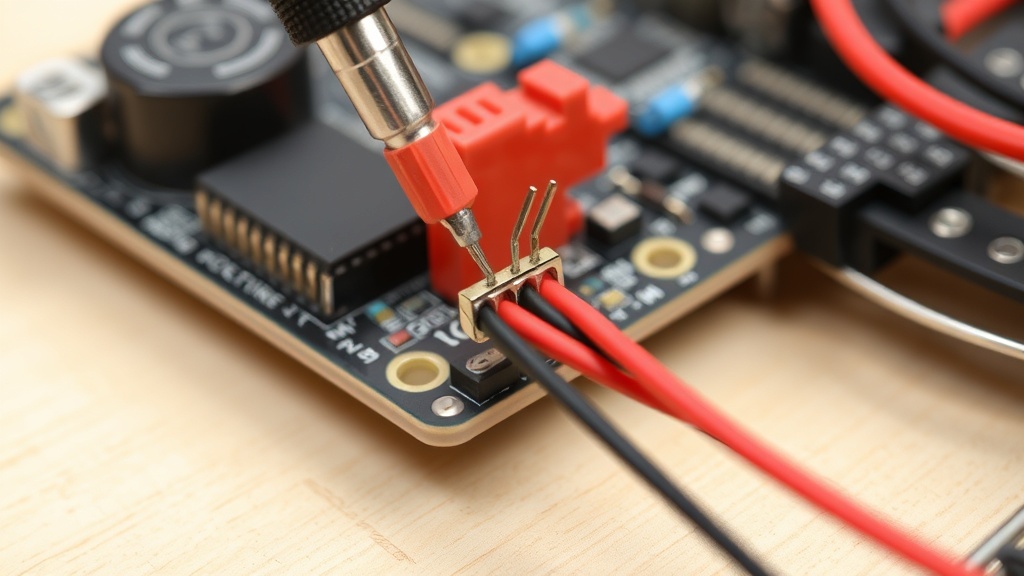
Radio-controlled cars, boats and FPV drones run on soldered joints that carry serious current and take constant vibration. A joint that would be “good enough” on a hobby board can fail in the air. The good news: the technique is very learnable, and the demands of RC make you a better solderer fast.
Why RC soldering is different
Three things set RC apart from general electronics:
- Thick wires and big pads. Battery leads, motor wires and connectors are heavy-gauge copper that pulls heat away fast. You need real power to solder them.
- High current and vibration. Joints carry tens of amps and shake constantly, so a weak or cold joint is a real failure risk — potentially a crash.
- Tight, heat-sensitive boards. Flight controllers and ESCs are dense and easy to overheat, so you also need control and speed.
The right iron for the job
This is one area where a budget iron will hold you back. You want a 60–100W iron or station with good thermal recovery and a chisel/bevel tip that delivers heat to big joints. A capable iron like the FNIRSI HS-02A makes XT60s and battery leads easy; a low-power pencil iron turns them into a frustrating, cold-joint-prone fight. Add flux and helping hands and you are set.
Tinning is everything
The golden rule of RC soldering: tin both surfaces first.
- Tin the wire — strip it, twist the strands, and flow solder into them until shiny.
- Tin the pad or connector cup — heat it, add flux, and fill it with a small reservoir of solder.
- Join them — reheat the tinned pad, push the tinned wire in, and the two pre-tinned surfaces fuse in a second or two.
This pre-tinning step is why some people make perfect XT60 joints and others get lumpy blobs. With both sides tinned, the join is fast and clean before heat can soak into anything sensitive.
Soldering an XT60 connector
- Clamp the connector in helping hands, cup facing up.
- Add flux and fill the cup with solder until level.
- Tin the battery lead thoroughly.
- Reheat the filled cup, insert the tinned wire, hold still for a second, and remove the iron.
- Slide pre-fitted heat-shrink over the joint and shrink it. (Thread it on before soldering — see our wire soldering guide.)
Protect the electronics
Flight controllers and ESCs hate heat and static. Work quickly on their pads, use flux so joints flow fast, and follow good ESD habits around sensitive boards. Inspect every power joint: it should be shiny and concave, not dull or cracked. On something that flies, that inspection is your pre-flight safety check.
Choosing wire gauge for RC power leads
| Wire (AWG) | Typical use | Tip and heat |
|---|---|---|
| 22–26 | Receiver, servo and signal wires | Small chisel, normal temperature |
| 18–20 | Small drones, VTX and camera power | Medium chisel |
| 14–16 | ESC and motor leads on mid-size models | Large chisel, plenty of wattage |
| 10–12 | Main battery leads on larger models | Largest chisel, high-wattage iron |
Silicone-insulated wire is the norm in RC because it stays flexible and does not melt back as easily when you solder next to it.
Common RC soldering mistakes
- Using a small tip on big connectors — the joint never fully melts and ends up cold. A bigger tip and more wattage fix it; see how to choose a soldering iron.
- Holding the iron on too long — melts the connector housing or lifts a pad on the flight controller. Pre-tin both sides so the final joint takes seconds.
- Forgetting heat-shrink before soldering a connector.
- Solder wicking up the wire — makes a stiff section that fatigues under vibration. Keep solder on the joint itself.
- Leaving flux residue near motors and ESCs — clean it off so it does not collect dirt.
After soldering: check before you plug in
- Inspect every pad for bridges, especially on flight controllers where pads sit close together.
- Check the main power leads for a short with a multimeter on continuity — positive and negative must not connect.
- Use a smoke stopper or a current-limited bench power supply for the first power-up.
A short on a freshly soldered build with a full LiPo attached can destroy an ESC or flight controller instantly; a current limit turns that into a harmless warning.
Build the core skill first on a practice kit if you are new, then graduate to your RC gear with confidence.
Recommended kits from this guide
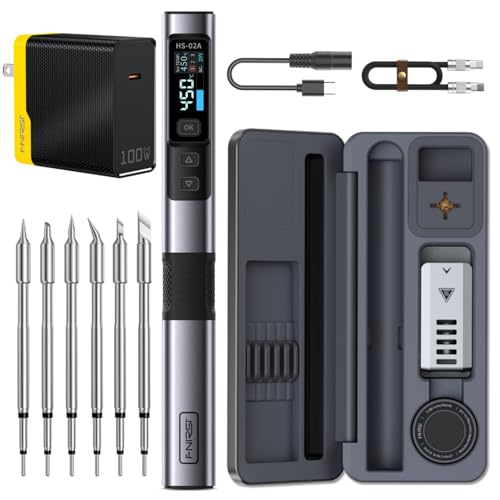
FNIRSI
FNIRSI HS-02A Smart Soldering Iron
100W of mains power, six tips, and instant temperature control.
We earn a commission, at no extra cost to you.
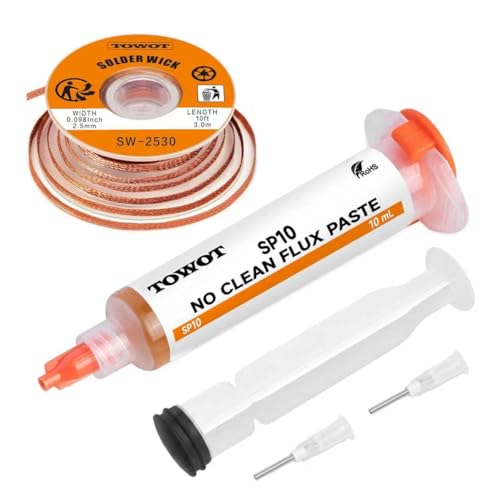
TOWOT
TOWOT Solder Wick & Flux Kit
Solder braid plus no-clean flux — the cleanup duo.
We earn a commission, at no extra cost to you.

Kaisiking
Kaisiking Helping Hands with Magnifier
Four arms and a magnifier so the board holds itself.
We earn a commission, at no extra cost to you.