How to Choose a Soldering Iron: A Beginner's Buying Guide
How to choose a soldering iron: the types (station, pen, cordless, USB-C, butane, gun), the specs that matter, tips, budget tiers and the mistakes to avoid.
Written by Kerem Başbuğ · Last updated September 30, 2026 · How we rank
5 min read
Affiliate disclosure: As an Amazon Associate we earn from qualifying purchases. We may earn a commission when you buy through links on this page — at no extra cost to you. Read our affiliate disclosure for details.
The iron is the most important tool you will buy, and the right one removes most of the frustration beginners feel. Almost every “I can’t get the solder to stick” problem traces back to a tip that is too cool, too small or badly regulated. Here is how to choose well without overspending.
The short answer
For most people learning electronics, buy a temperature-controlled station or smart pen iron in the 60–100W range, with a chisel tip and a range that reaches at least 400°C. Add a cordless iron later if you do repairs away from the bench. Our current picks by type are in the best soldering iron ranking.
The types of soldering iron
| Type | How it works | Best for | Watch out for |
|---|---|---|---|
| Basic plug-in iron | Fixed power, no temperature control | Very occasional wire jobs | Runs too hot at idle, sags on big joints |
| Adjustable iron | A dial changes the power | Budget first iron | Not truly regulated; no readout on many |
| Soldering station | Separate base regulates tip temperature | Learning, long bench sessions | Takes desk space |
| Smart pen (corded) | Regulation and display built into the handle | Small desks, fast heat-up | Needs mains power |
| Cordless battery iron | Built-in battery, heats in seconds | Repairs away from a bench | Runtime, less sustained power |
| USB-C iron | Runs from a charger or power bank | Portable makers | Only as good as the power source |
| Butane iron | Gas flame heats the tip | Cars, boats, off-grid | Imprecise heat for circuit boards |
| Soldering gun | Transformer heats a loop tip instantly | Heavy wire, stained glass | Wrong tool for PCBs |
For learning, the choice is really between a station and a smart pen. Both give you regulated heat; the station wins on steadiness and bundled accessories, the pen on desk space and portability. Our station vs cordless iron and YIHUA 926 III vs FNIRSI HS-02A comparisons go deeper.
The specifications that matter
- Temperature control. The single most important feature. A regulated iron measures the tip and holds the temperature you set; an unregulated one just runs as hot as it runs. Look for a digital readout or a clearly marked dial.
- Temperature range. At least 200–450°C (390–840°F) covers leaded and lead-free solder with room to spare.
- Wattage. 40–100W. Wattage is heat recovery, not temperature — a regulated 100W iron is no more dangerous than a 40W one, it just stalls less when a joint soaks up heat.
- Heat-up time. Modern stations and pens reach temperature in seconds to a minute; slow heat-up is a sign of an old or weak design.
- Tips. Check which tip family it uses and whether spares are cheap and easy to buy. A station is only as useful as the tips you can get for it.
- Auto-sleep. Drops the temperature when idle, which dramatically extends tip life.
- Ergonomics. A light handle and a flexible silicone cable make long sessions more comfortable.
- ESD safety. Worth having for modern electronics repair; not essential for kit building.
Choosing tips
- Chisel / screwdriver (1.6–2.4 mm): the best all-rounder for through-hole joints and wires. Start here.
- Conical / fine point: for small surface-mount parts and tight spaces. Beginners often pick this first and struggle, because a fine point moves very little heat.
- Bevel / hoof: for drag-soldering fine-pitch chips with flux.
- Large chisel: for thick wires, connectors and ground planes.
Changing to a bigger tip usually fixes a slow joint better than raising the temperature. See our temperature guide for settings by job.
Budget tiers
| Budget | What you get | Examples we rank |
|---|---|---|
| $ — starter | Adjustable or digital pen iron with basic accessories | Plusivo 60W kit, Q-MING 60W kit |
| $ — value station | Digital station with helping hands and consumables | Crtsweker 100W |
| $$ — best for most | Regulated station or smart pen, good tips | YIHUA 926 III, FNIRSI HS-02A |
| $$ — portable | Cordless or USB-C iron | FNIRSI HS-03, Pinecil |
| $$$ — buy once | Pro-grade station, huge tip range | Hakko FX-888DX, Weller WE1010NA |
Choose by what you will do
- Learning with practice and project kits: a digital station such as the YIHUA 926 III — steady heat and accessories in one box.
- Small desk or dorm room: a smart pen like the FNIRSI HS-02A.
- Phone, gadget and household repairs: a cordless iron; see the best cordless soldering irons.
- Surface-mount work: a regulated station with a fine tip, and later hot air — see SMD rework.
- Car and boat wiring: a higher-wattage iron with a large chisel tip, or butane for off-grid work.
- Soldering is becoming a serious hobby: a Hakko or Weller station; see Hakko vs Weller.
Mistakes to avoid when buying
- Buying an unregulated iron to save a little money. It is the most common cause of frustrating first sessions.
- Choosing by maximum temperature. You will almost never need the top of the range; regulation and tips matter more.
- Judging a kit by its accessory count. Twenty cheap accessories rarely beat one good iron.
- Forgetting consumables. Budget for thin rosin-core solder, a brass-wool tip cleaner, flux, a way to remove solder, and safety glasses. Our accessories roundup covers what is worth owning.
Once you have your iron, pair it with a practice kit, learn how to clean and tin the tip, and work through our beginner soldering guide.
Recommended kits from this guide
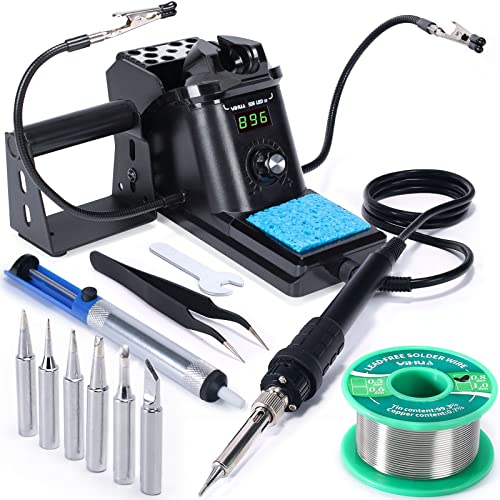
YIHUA
YIHUA 926 III 60W Soldering Station
A temperature-controlled station bundled with everything to start.
We earn a commission, at no extra cost to you.
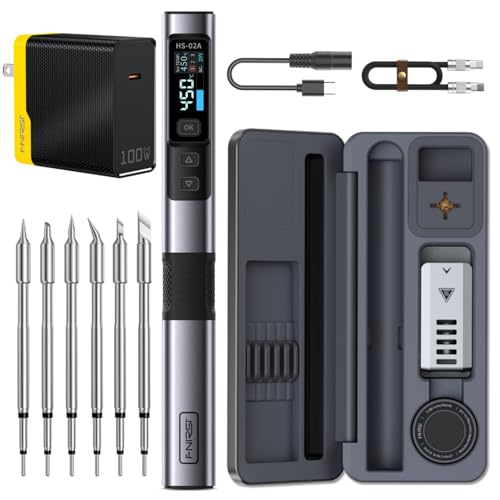
FNIRSI
FNIRSI HS-02A Smart Soldering Iron
100W of mains power, six tips, and instant temperature control.
We earn a commission, at no extra cost to you.
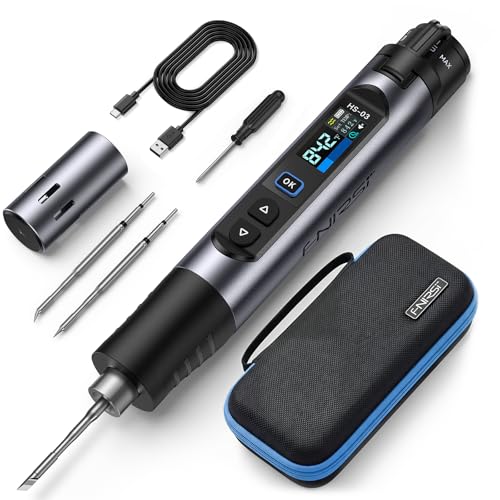
FNIRSI
FNIRSI HS-03 Cordless Soldering Iron
Battery-powered, 3-second heat-up, and a screen that shows the temp.
We earn a commission, at no extra cost to you.
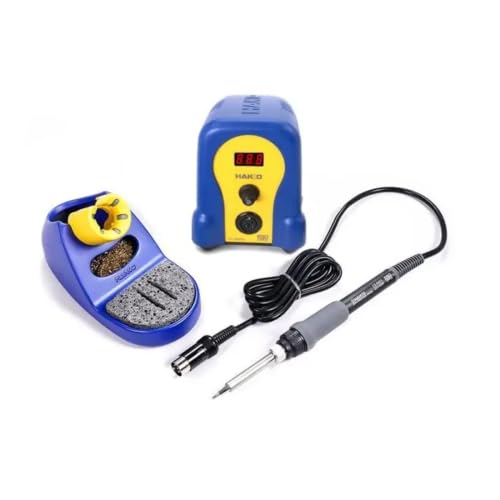
Hakko
Hakko FX-888DX Digital Soldering Station
The classic hobbyist-to-pro bench station, now with a rotary dial.
We earn a commission, at no extra cost to you.
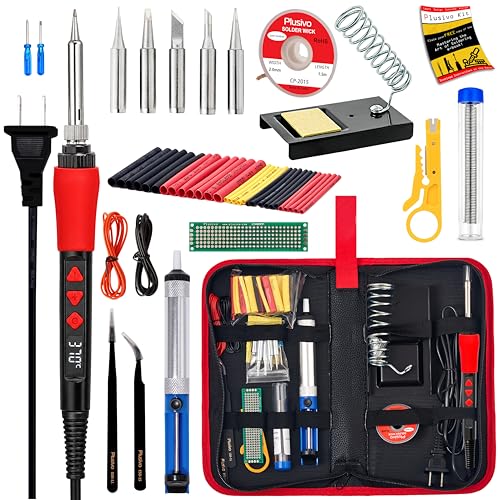
Plusivo
Plusivo 60W Digital Soldering Iron Kit (21-in-1)
A digital-display iron plus the starter tools, in one kit.
We earn a commission, at no extra cost to you.