How to Desolder: Removing Solder and Components Safely
How to desolder: using solder wick and a solder sucker, removing through-hole and SMD components, clearing stubborn holes, and avoiding lifted pads.
Written by Kerem Başbuğ · Last updated September 30, 2026 · How we rank
4 min read
Affiliate disclosure: As an Amazon Associate we earn from qualifying purchases. We may earn a commission when you buy through links on this page — at no extra cost to you. Read our affiliate disclosure for details.
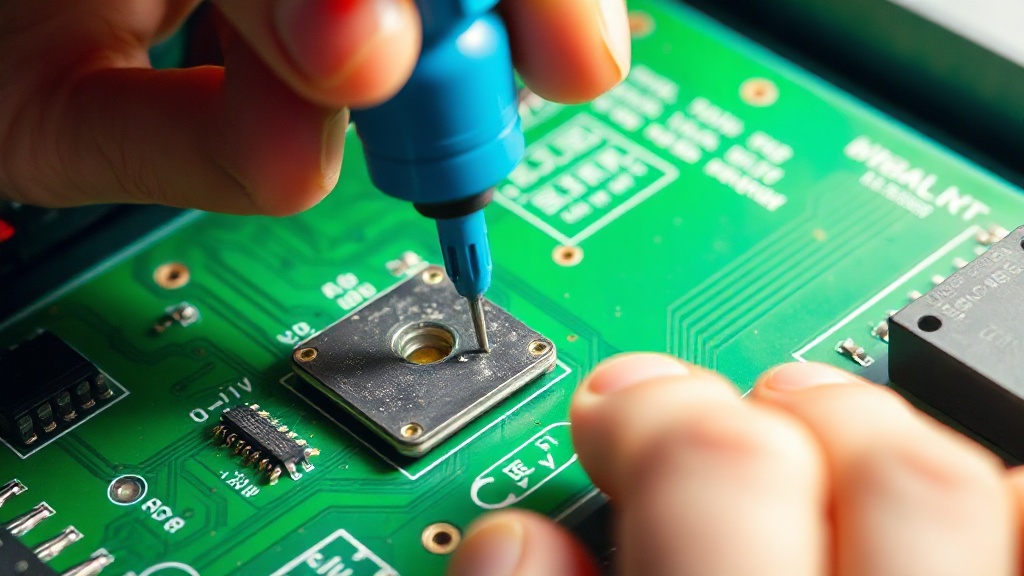
Everyone makes mistakes, and the ability to undo a joint is just as important as making one. Desoldering lets you fix bridges, remove wrong components and salvage parts. This guide covers every common method and when to use each.
Which desoldering method to use
| Method | Best for | Strengths | Limits |
|---|---|---|---|
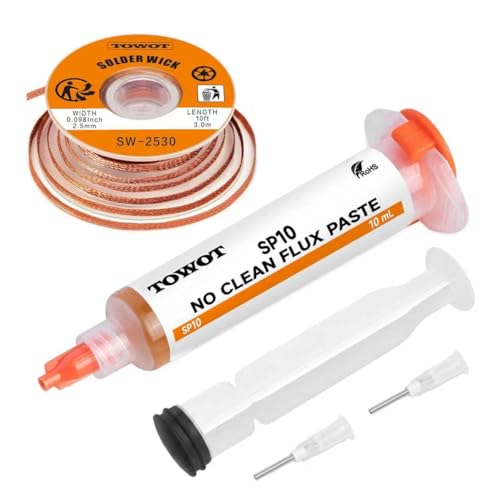
| Desoldering braid (wick) | Flat pads, bridges, SMD cleanup | Precise, cheap, leaves clean pads | Slow for filled through-holes; consumable |
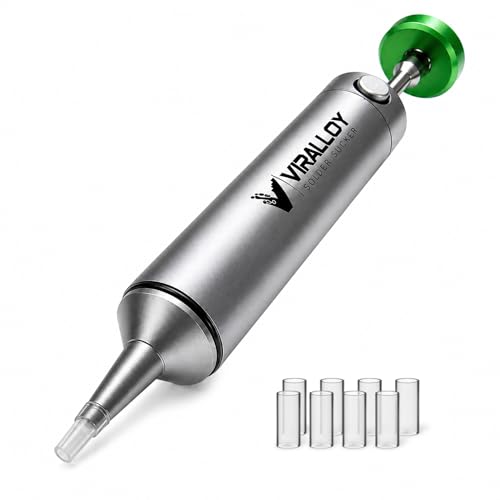
| Solder sucker (pump) | Through-hole joints | Fast, reusable, no consumables | Struggles on flat pads and SMD |
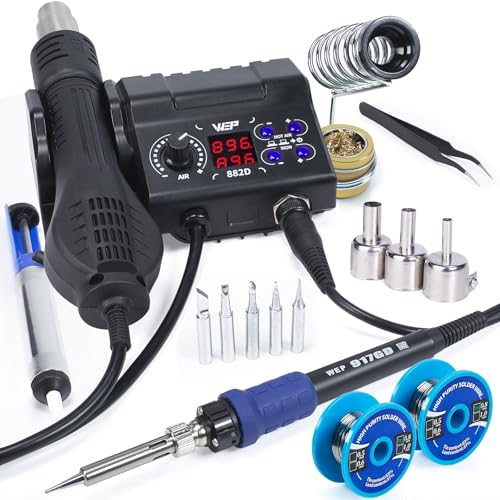
| Hot air | Multi-pin SMD parts | Melts every pin at once | More skill; can overheat nearby parts |
| Desoldering station / gun | Heavy through-hole rework | Heated nozzle plus built-in vacuum | Expensive for a hobbyist |
| Tweezers and heat | Two-terminal SMD parts | Quick for resistors and capacitors | Needs practice |
For most hobbyists a solder sucker and wick cover nearly everything. Hot air — in a combined station like the WEP 882D — becomes worthwhile once you work with surface-mount parts regularly.
How to use desoldering braid
- Lay the braid flat over the joint or bridge. Add a dab of flux first — it makes a dramatic difference.
- Press the hot iron tip down on top of the braid.
- As both heat up, the solder melts and wicks into the braid.
- Lift the braid and iron together — do not let the braid cool stuck to the pad.
- Snip off the used, solder-filled section.
Match braid width to the job: narrow braid for fine pads, wider braid for big joints. Do not drag or scrub the braid across the board; that lifts pads.
How to use a solder sucker
- Prime (cock) the pump.
- Melt the joint with your iron until the solder is fully liquid.
- Bring the pump nozzle to the molten solder and trigger it in one smooth movement.
- Repeat if needed, then clean any remainder with braid.
If the pump barely picks anything up, the solder probably was not fully molten, or the nozzle needs clearing. Our VIRALLOY review covers pump care.
Removing through-hole components
- Two-leg parts (resistors, capacitors, diodes): heat one joint and ease that leg out, then the other. Alternating heat between the two joints while rocking the part also works.
- Multi-pin parts (ICs, headers, connectors): clear every hole with a pump or wick until each leg moves freely, then lift the part. Never pull while any joint is still solid — that tears the pad and track.
- Salvaging the board, not the part: if the component is scrap anyway, clip its legs off first and remove each leg separately. It is far easier than freeing a many-pin part in one piece.
Removing surface-mount components
- Small two-terminal parts: heat both ends alternately with the iron while pushing gently with tweezers, or add a blob of solder across both pads so they melt together. Two irons, one per end, work well too.
- Multi-pin chips: hot air is the cleanest method — preheat the area, keep the nozzle moving, and lift the chip once all the solder is molten. Without hot air, flood all the pins with solder and flux so they melt together, then clean the pads with wick afterwards.
- Clean-up: wick the pads flat before fitting a new part, so it sits level. Our SMD rework guide covers hot air settings in detail.
Stubborn joints
Some joints refuse to let go:
- Ground planes and big pads pull heat away. Use a larger tip and a little more time.
- Lead-free joints melt higher and flow poorly. Adding a little fresh leaded solder lowers the melting point and makes removal much easier — see lead-free vs leaded solder.
- Old, oxidized joints need fresh flux before anything will flow.
- Blocked holes after removal: heat the pad and use the pump from the component side, or feed wick from the other side. A heated wooden toothpick pushed through a hole also clears it without damaging plating.
Avoiding damage
- Add fresh flux — old joints desolder much more easily with new flux.
- Do not dwell. Long heat lifts pads and traces. Work in short bursts and let things cool.
- Use enough heat, not maximum heat. Start 10–30°C above your soldering setting — see the temperature guide.
- Support the board in helping hands or a holder so both hands are free for iron and tool.
- Check afterwards. A multimeter on continuity confirms that neighbouring pads are not bridged and tracks are intact.
Practise before it matters
Desoldering is a skill of its own. A cheap practice board lets you remove and re-fit parts until it feels routine — and once no mistake is permanent, you solder with far more confidence. Next, brush up on the joints themselves with our beginner guide and common mistakes.
Recommended kits from this guide
VIRALLOY
VIRALLOY Solder Sucker
A no-clog desoldering pump that fixes your mistakes fast.
We earn a commission, at no extra cost to you.
TOWOT
TOWOT Solder Wick & Flux Kit
Solder braid plus no-clean flux — the cleanup duo.
We earn a commission, at no extra cost to you.
WEP
WEP 882D 2-in-1 Hot Air Rework & Soldering Station
A soldering iron and SMD hot air rework gun in one bench unit.
We earn a commission, at no extra cost to you.
YIHUA
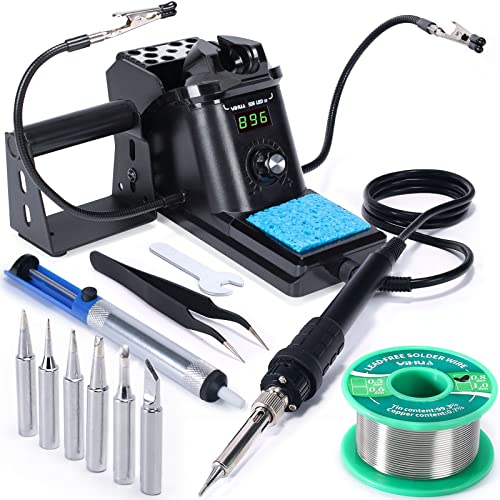
YIHUA 926 III 60W Soldering Station
A temperature-controlled station bundled with everything to start.
We earn a commission, at no extra cost to you.