How to Solder for Beginners: A Complete Step-by-Step Guide
Learn how to solder from scratch: the tools you need, safety, tinning the tip, making a good joint, soldering wires, fixing mistakes and a simple practice plan.
Written by Kerem Başbuğ · Last updated September 30, 2026 · How we rank
5 min read
Affiliate disclosure: As an Amazon Associate we earn from qualifying purchases. We may earn a commission when you buy through links on this page — at no extra cost to you. Read our affiliate disclosure for details.
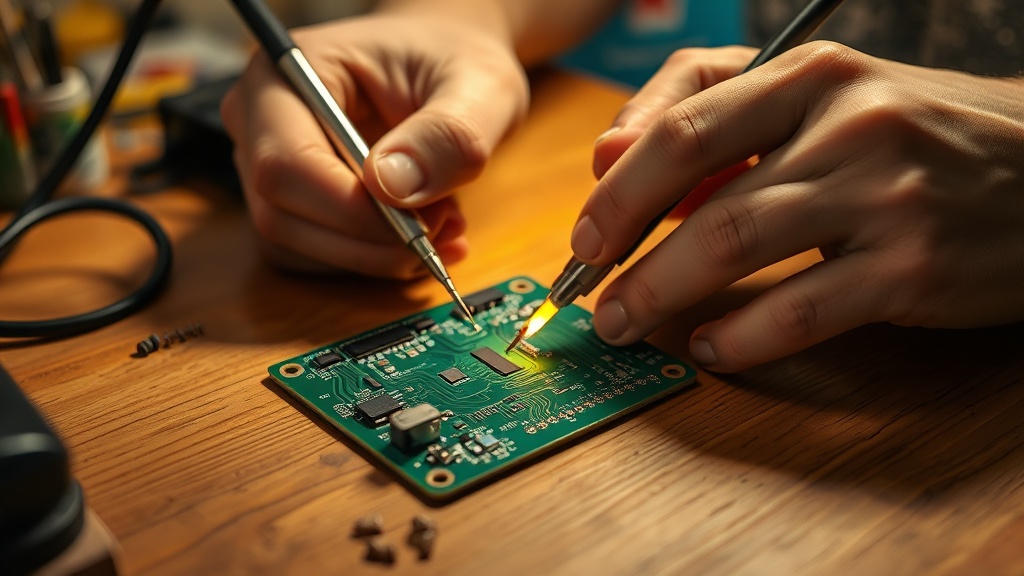
Soldering looks intimidating, but it is one of the most learnable skills in electronics. With the right tools and an hour of practice, you can make joints that are strong, shiny and electrically sound. This guide walks you through everything from a cold start.
What you’ll need
| Item | Why | Our guidance |
|---|---|---|
| Soldering iron | Stable, adjustable heat is the biggest factor in good joints | A temperature-controlled station such as the YIHUA 926 III; see how to choose a soldering iron |
| Solder | Thin rosin-core wire has flux built in | 0.6–0.8 mm; leaded 63/37 or 60/40 is easiest to learn on — see solder types |
| Something to solder | Safe, rewarding practice | The amomii Testudo or classic Elenco SP-1A |
| Brass-wool tip cleaner | Keeps the tip clean without cooling it | Often included with stations |
| Flush cutters | Trim component legs cleanly | Small side cutters |
| Helping hands or a vise | Holds the work so both hands are free | See helping hands |
| Solder sucker or wick | Undo mistakes | See how to desolder |
| Safety glasses | Solder and clipped leads can fly | Any clear safety glasses |
Starting with nothing? A complete kit with the iron included covers most of this in one box.
Step 1: Set up and stay safe
Work in a ventilated space on a heat-resistant surface, ideally with a small fume extractor or an open window — the smoke is flux vapour and should not be breathed. Put the iron in its stand, never on the bench. Tie back long hair, wear safety glasses, and assume the tip is always hot: it runs above 300°C. With leaded solder, wash your hands afterwards and do not eat at the bench.
Step 2: Tin the tip
“Tinning” means coating the tip with a thin layer of solder. It protects the tip and helps heat flow into the joint.
- Bring the iron up to temperature — around 320–340°C (610–645°F) for leaded solder.
- Wipe the tip on the brass wool.
- Touch a little solder to the tip until it is bright and shiny.
A shiny, silver tip transfers heat well; a dull, blackened one does not. Re-tin whenever it looks dull — our tip care guide explains more.
Step 3: Place the component
Push the component legs through the correct holes — check any orientation marking on the board first, such as the flat side of an LED or the stripe on a diode. Bend the legs slightly outwards on the underside so the part stays put when you turn the board over. Solder the lowest-profile parts, like resistors, first.
Step 4: Make the joint
This is the technique that matters most. Heat the joint, then feed solder into the joint — not onto the iron.
- Press the tip against both the component leg and the copper pad at the same time.
- Count “one, two,” letting them heat up.
- Feed solder into the point where the tip meets the pad. It should flow and wick around the leg.
- Remove the solder, then remove the iron. The whole joint takes 2–3 seconds.
- Hold still for a moment while it sets.
A good joint is shiny and shaped like a small cone with concave sides, hugging the leg and pad. A dull, blobby or ball-shaped joint is a cold joint — reheat it with a touch of flux.
Step 5: Trim, inspect and test
Snip the excess leg length just above the joint with flush cutters, pointing the offcut away from your face. Inspect under good light or a magnifier. Before powering a finished kit, a multimeter on continuity is the quickest way to find a joint that looks fine but does not connect, or a bridge between two pins.
Soldering wires
Wires follow the same rule with one extra step: tin each wire first, then join them mechanically, then solder. Slide heat-shrink on before you start. The full method is in how to solder wires together.
Troubleshooting
| Symptom | Likely cause | Fix |
|---|---|---|
| Solder balls up and will not flow | Dirty tip, too little heat or no flux | Clean and tin the tip, add flux, use a bigger tip |
| Joint is dull and grainy | Moved while cooling, or too cool | Reflow with flux and hold still |
| Solder bridges two pins | Too much solder | Remove the excess with wick |
| Pad lifts off the board | Too much heat for too long | Work faster; repair with a wire link |
| Tip turns black | Running hot with no solder on it | Re-tin; use auto-sleep; lower the temperature |
Our common soldering mistakes guide covers each of these in detail.
A simple practice plan
- Session 1: 30–50 joints on a bare practice board, deliberately making a few too cold and too hot so you recognise them.
- Session 2: desolder and re-solder a few of those joints with a pump and wick.
- Session 3: build a small working kit — a clock, radio or game — from the project kit rankings.
- Next: splice some wires, then move to a surface-mount practice board once through-hole joints feel automatic.
There is no substitute for repetition. Within a few builds, clean joints will feel automatic — and the LED resistor and resistor color code calculators will help once you start designing small circuits of your own.
Recommended kits from this guide

amomii
amomii Testudo Soldering Practice Kit
Three real gadgets, guided tutorials, and an Arduino-compatible brain.
We earn a commission, at no extra cost to you.

Elenco
Elenco Practical Soldering Project Kit (SP-1A)
The classic learn-to-solder kit that builds a working device.
We earn a commission, at no extra cost to you.
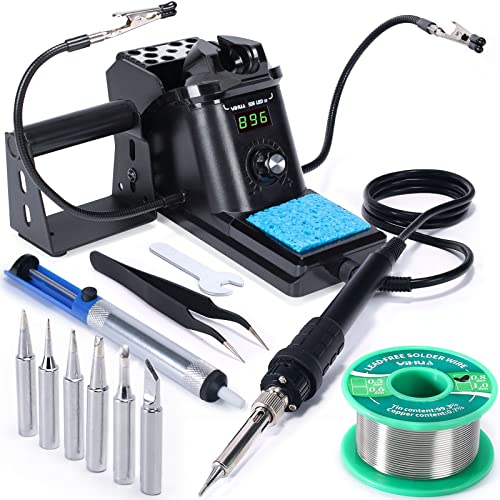
YIHUA
YIHUA 926 III 60W Soldering Station
A temperature-controlled station bundled with everything to start.
We earn a commission, at no extra cost to you.

HGMZZQ
HGMZZQ 60/40 Rosin-Core Solder Wire
Classic 60/40 rosin-core wire — the easiest solder to learn on.
We earn a commission, at no extra cost to you.