How to Clean and Tin a Soldering Iron Tip (and Make It Last)
How to clean a soldering iron tip, tin a new one, revive a black oxidized tip, which cleaners to use (brass wool, sponge, tip tinner) and the habits that make tips last.
Written by Kerem Başbuğ · Last updated September 30, 2026 · How we rank
4 min read
Affiliate disclosure: As an Amazon Associate we earn from qualifying purchases. We may earn a commission when you buy through links on this page — at no extra cost to you. Read our affiliate disclosure for details.
A clean, well-tinned tip is the difference between soldering that feels effortless and soldering that feels impossible. Tips are also the part that wears out, so a few good habits save money and frustration. Here is everything you need to know.
What a soldering tip is made of
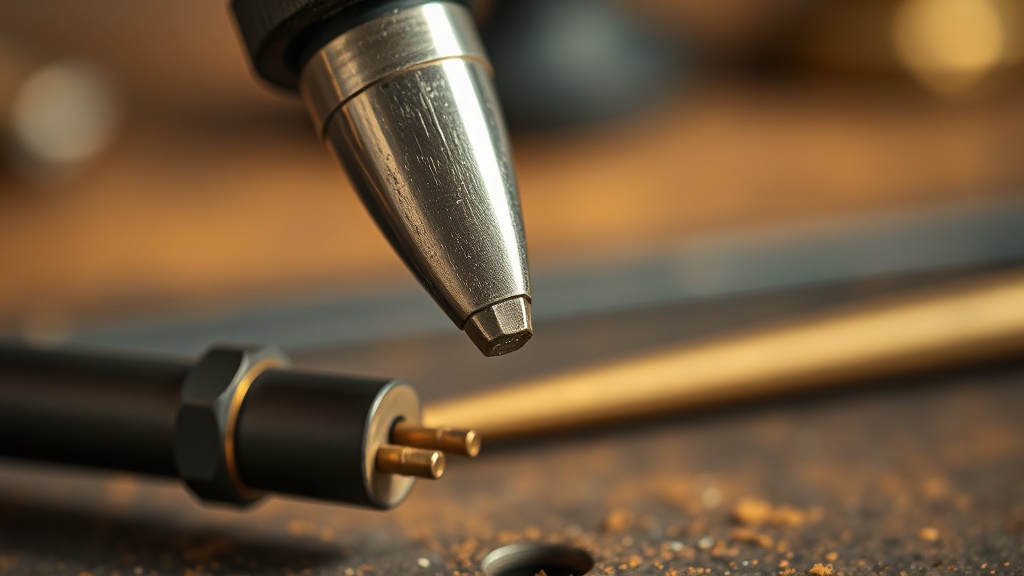
A modern tip is a copper core — excellent at moving heat — covered in a thin iron plating that stops solder from dissolving the copper. The shank behind the working end is often chrome-plated so solder does not creep up it. Only the plated working end should ever be tinned.
That iron plating is the part you are protecting. Once it wears through, solder eats into the copper, the tip pits and deforms, and it needs replacing.
What “tinning” means and why it matters
Tinning is keeping a thin layer of solder on the working end of the tip. That layer:
- transfers heat efficiently from the tip into the joint;
- protects the plating from oxidizing (going black and dead);
- lets solder flow where you want it.
A shiny, silver tip works. A dull, blackened tip does not — no matter how hot it is — because the oxide layer blocks heat transfer.
Signs your tip needs attention
- Solder balls up on the tip instead of spreading across it.
- The tip looks dull grey, brown or black.
- Joints take longer than usual to form at your normal temperature.
- You find yourself turning the temperature up to compensate.
Tinning a brand-new tip
Do this the first time the tip heats up — before it has a chance to oxidize:
- Fit the tip with the iron cold.
- Switch on and, as it comes up to temperature, touch rosin-core solder to the tip repeatedly so it coats the working end as soon as the solder will melt.
- Once at working temperature, wipe on brass wool and tin again until the whole working face is bright.
Cleaning a tip during use
While soldering, clean the tip every few joints:
- Wipe it on brass wool (preferred) or a damp sponge.
- Re-tin with a touch of fresh solder if it looks dry.
Tip cleaners compared
| Cleaner | How it works | Pros | Cons |
|---|---|---|---|
| Brass wool | Scrubs off old solder and flux | No cooling; lasts ages | Needs a holder; sheds a little |
| Damp sponge | Steam and wiping | Cheap, often included with stations | Thermal shock shortens tip life; cools the tip |
| Tip tinner / activator | Mild abrasive paste plus flux | Revives oxidized tips | For occasional use, not every joint |
| Flux | Chemically strips oxide | Helps re-tin a stubborn tip | Messy if overused |
Use brass wool for everyday cleaning, keep tip tinner for rescue jobs, and if you use a sponge, keep it damp rather than soaking wet.
Reviving a black, oxidized tip
If your tip has already gone dark and will not take solder:
- Make sure the iron is at full working temperature.
- Wipe firmly on brass wool.
- Apply fresh solder with plenty of flux, or push the tip into tip tinner / activator paste — the mild abrasive plus flux strips the oxide.
- Wipe and re-tin. Repeat until the working face is bright silver.
Never file or sand a plated tip. It removes the iron plating and ruins the tip permanently. Only bare copper tips — rare today — can be gently reshaped.
Habits that make tips last
- Set the right temperature. Running needlessly hot accelerates oxidation. Use the lowest setting that makes a clean joint in two or three seconds — see the temperature chart.
- Keep it tinned. Never leave a bare tip sitting hot.
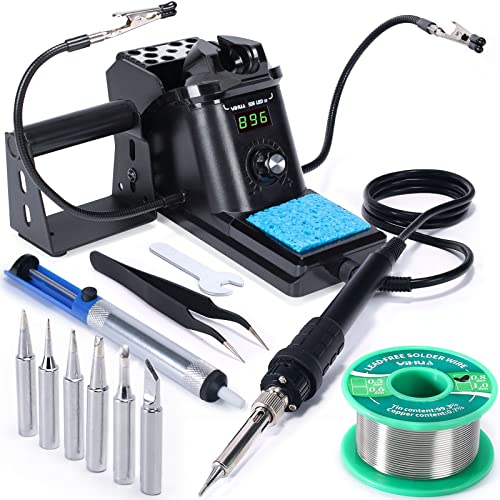
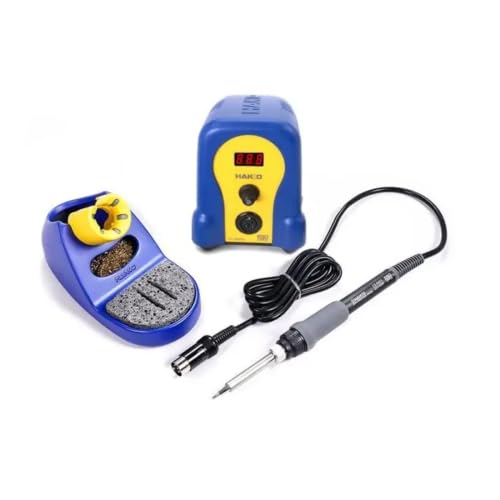
- Use auto-sleep if your iron has it. Stations such as the YIHUA 926 III and Hakko FX-888DX drop the temperature when idle.
- Tin before you switch off. Leave a blob of solder on the tip; wipe it off when you next start.
- Do not press hard or twist. Heat transfer comes from a tinned contact, not force, and pressure wears the plating.
- Do not tap or bang the tip on the stand or bench to knock solder off.
- Use rosin-core solder so flux keeps the tip active.
Lead-free solder and tip life
High-tin lead-free alloys are harder on tips than leaded solder. Expect tips to wear faster, re-tin more often, and avoid parking the iron hot and dry. The lead-free vs leaded guide covers hand-soldering lead-free in more detail.
When to replace a tip
Replace a tip when the working end is visibly pitted, hollowed or deformed, when bare copper shows through, or when it will not tin even after tip tinner. Tips are consumables; keeping a spare of your everyday shape avoids interrupting a project.
Look after your tips and a single one can last a long time. Pair good tip care with the right solder and a practice kit, and your joints will improve immediately.
Recommended kits from this guide
YIHUA
YIHUA 926 III 60W Soldering Station
A temperature-controlled station bundled with everything to start.
We earn a commission, at no extra cost to you.
Hakko
Hakko FX-888DX Digital Soldering Station
The classic hobbyist-to-pro bench station, now with a rotary dial.
We earn a commission, at no extra cost to you.
FNIRSI
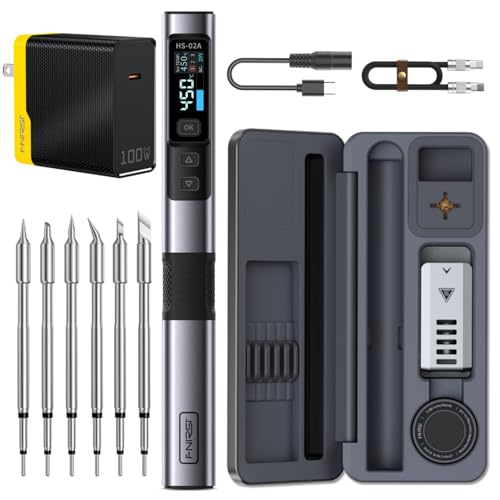
FNIRSI HS-02A Smart Soldering Iron
100W of mains power, six tips, and instant temperature control.
We earn a commission, at no extra cost to you.