YIHUA
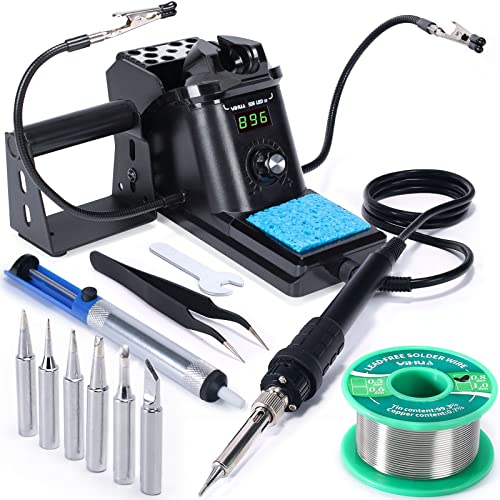
YIHUA 926 III 60W Soldering Station
9.0 / 10
A temperature-controlled station bundled with everything to start.
Check Price →
Read full review →
We earn a commission, at no extra cost to you.
Soldering gets a circuit built. Test gear tells you whether it works — and why not when it does not. You do not need everything at once: each tool below earns its place at a particular stage, and buying them in order means you are never paying for an instrument you cannot use yet.
Written by Kerem Başbuğ · How we rank
Affiliate disclosure: As an Amazon Associate we earn from qualifying purchases. We may earn a commission when you buy through links on this page — at no extra cost to you. Read our affiliate disclosure for details.
| Stage | Tool | What it does for you | Buy it when |
|---|---|---|---|
| 1 | Soldering iron | Builds the circuit | Day one |
| 2 | Multimeter | Finds open joints, bridges and reversed parts | With your first kit |
| 3 | Bench power supply | Powers new builds safely with a current limit | When you build your own circuits |
| 4 | Oscilloscope | Shows signals over time — timers, PWM, audio, data | When a board powers up but misbehaves |
Everything starts here, and it is the one tool not to economise on too far: regulated, adjustable temperature is what makes clean joints repeatable. A station kit with helping hands and consumables gets a first bench running in one purchase. See our soldering iron rankings, or the complete kits if you are starting from nothing.
The meter pays for itself on your first kit. Its continuity beeper finds the joint that looks fine but does not connect, the solder bridge between two pins and the diode fitted backwards — the causes behind most "it does not work" moments. An auto-ranging meter is easiest to learn on. See the best multimeters for electronics.
Once you build your own circuits rather than kits with a battery box, a current-limited supply becomes the safest way to power them. Set the voltage, set a sensible current limit, and a wiring mistake shows up on the display instead of in a puff of smoke. See the best bench power supplies.
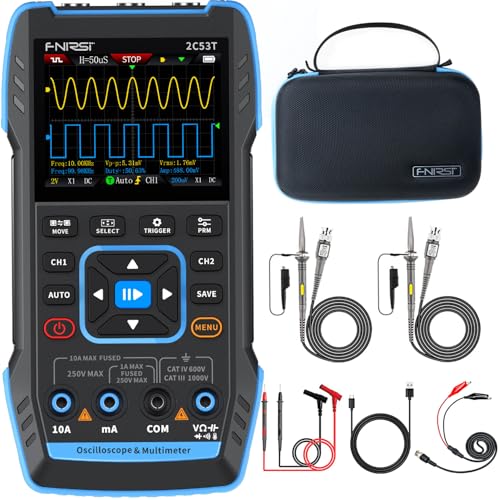
A scope is the tool for the hardest faults: a board that powers up but behaves wrongly. It shows whether a timer oscillates, whether PWM has the duty cycle you expect, and whether a microcontroller is talking at all. A two-channel handheld is a sensible first scope; a benchtop model is easier to learn on if it will stay on the bench. See the best oscilloscopes for beginners.
Alongside the four big tools, a few inexpensive accessories change the day-to-day experience: a desoldering pump and wick for fixing mistakes, a helping-hands holder, flush cutters and a fume extractor. Our soldering accessories roundup covers the ones worth owning, and the beginner tools checklist lists them in one place.
YIHUA
A temperature-controlled station bundled with everything to start.
We earn a commission, at no extra cost to you.

AstroAI
Auto-ranging, True RMS and capacitance without leaving the budget bracket.
We earn a commission, at no extra cost to you.

Jesverty
The bestselling adjustable supply: 0–30V, 0–10A with a precise 4-digit display.
We earn a commission, at no extra cost to you.
FNIRSI
A two-channel scope, a multimeter and a signal generator in one handheld.
We earn a commission, at no extra cost to you.